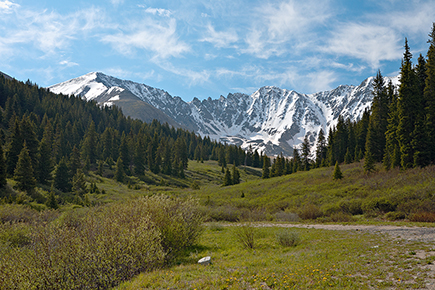
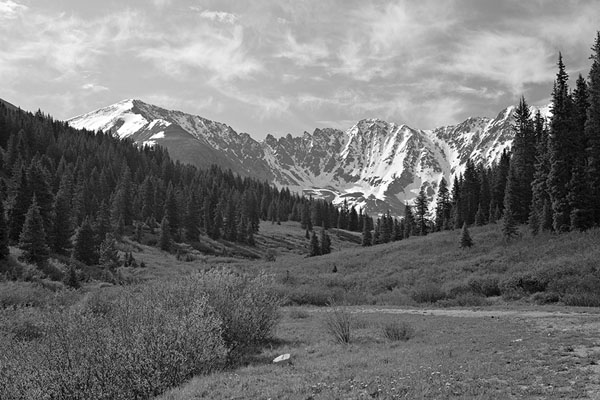
Photoshop offers a variety of methods for converting an image from color to black & white. Here are some of my favorite techniques, which always give me far better results than would simply converting an image to grayscale or desaturating the image. These techniques are based on the Photoshop CS3 command set, but should be fairly easy to apply using similar commands in prior versions of Photoshop as well as in CS4.


——————————————————————————
– The Gradient Map
This is one of my favorites, not only because it’s so ridiculously easy, but also because it gives consistently beautiful results to all types of photographs. Its simplicity involves little more than applying a Gradient Map in Photoshop using an adjustment layer. The Gradient Map adjustment layer alters the image by applying a gradient to the image, using the lightness and darkness values in the image as a map for how the gradient colors are applied.
- Open a color image in Photoshop
- Press the letter D on you keyboard to set the background/foreground colors to the defaults, black and white.
- Under the Layer menu, choose New Adjustment Layer>Gradient Map. Click OK on the next two dialog boxes to apply the Gradient Map layer.
- That’s it!

——————————————————————————
– Greg Gorman B&W method
This method is far more complicated, but yields beautiful results and I’ve found it to be particularly useful for my portrait work. As far as I’ve been able to figure out, this method was originally developed by Rob Carr, but has since been modified by Greg Gorman and Mac Holbert and is now known popularly as the Gorman/Holbert black & white conversion method:
- Open a color image in Photoshop
- Under the Image menu, select Mode>Lab Color
- In the Channels palette (usually grouped with Layers and Paths), click (highlight) the Lightness Channel
- Under the Image menu, select Mode>Grayscale (Discard color information or Discard other channels)
- In the Channels palette, Command (Mac)Ctrl (PC) -click on the Gray channel. A selection will load on the image.
- Under the Select menu, choose Inverse to select the shadows
- Under the Image menu, choose Mode>RGB Color
- Under the Layer menu, choose New Fill Layer>Solid Color
- Select a color from the Color Picker or from the Swatches Palette. (Using the Swatches Palette allows you to save a custom color). Your choice of color should be based on the tonal range you wish to see in your final toned black & white image.
- Go to the Layers palette and change the blending mode of the Color Fill layer to Multiply. Since the Color Fill adjustment is in a layer, you can adjust the opacity to dial back the color as you desire.
- Additionally, you may add a Curves or Levels adjustment layer to achieve the desired contrast.
- If you wish to change to color or your B&W “duotone”, simply double-click the Color Fill layer and reselect the color.
I think previous steps make up the original Carr method, while the following added steps are the Gorman/Holbert contribution which add slightly more contrast to the image.
- Create a new layer
- Under the Layer menu, hold the Option (Mac)Alt (PC) button and select Merge Visible
- In the Layers palette, change the Blending Mode to Overlay
- Reduce the Opacity to 20%
- Under the Filter menu, choose Other>High Pass and set the Radius at 50 pixels
- Double-click the new layer to bring up the Layer Properties
- Bring the Black Point arrow in to 70. Next, Option (Mac)Alt (PC) -click the Black Point arrow to split them, pulling one half of the arrow back to 50.
- Bring the White Point arrow in to 185. Next, Option (Mac)Alt (PC) -click the White Point arrow to split them, pulling one half of the arrow back to 205. Click OK. Adjust the opacity of the layer as desired.
Gorman details this method in a PDF – available on his website- and includes additional steps for creating a Photoshop action to automate the process. The PDF is available here. An adaptation of the action, by Robin Holden, Sr., is available at ActionCentral. Click here to download the action.

——————————————————————————
– Johny’s Black & White Action Set
Johny Åkerlund created a high-contrast, highly tweakable black & white action set back in June, 2003, written originally to work under Photoshop 7. In August, 2003, he released version Johny’s B&W Package v2.0 – which is the one I use and which seems to work fine with Photoshop CS2 and CS3. I have not tested it on CS4. It was originally available at jakerlund.net, but it appears as though he may now be in the process of switching web hosts and his site is not yet up. In the mean time, the original version of his action set can be found here.

——————————————————————————
– Side-by-Side Comparison


